Hi, friends! So I've clearly neglected this blog... the last post in JUNE 2016 was all about how I was going to post more. Cue eye roll! Since then, so much has happened, including launching our online store and releasing all the products you see there. Hopefully I’ll be able to carve out more time to share some of what's been going on with Frankie Baby here.
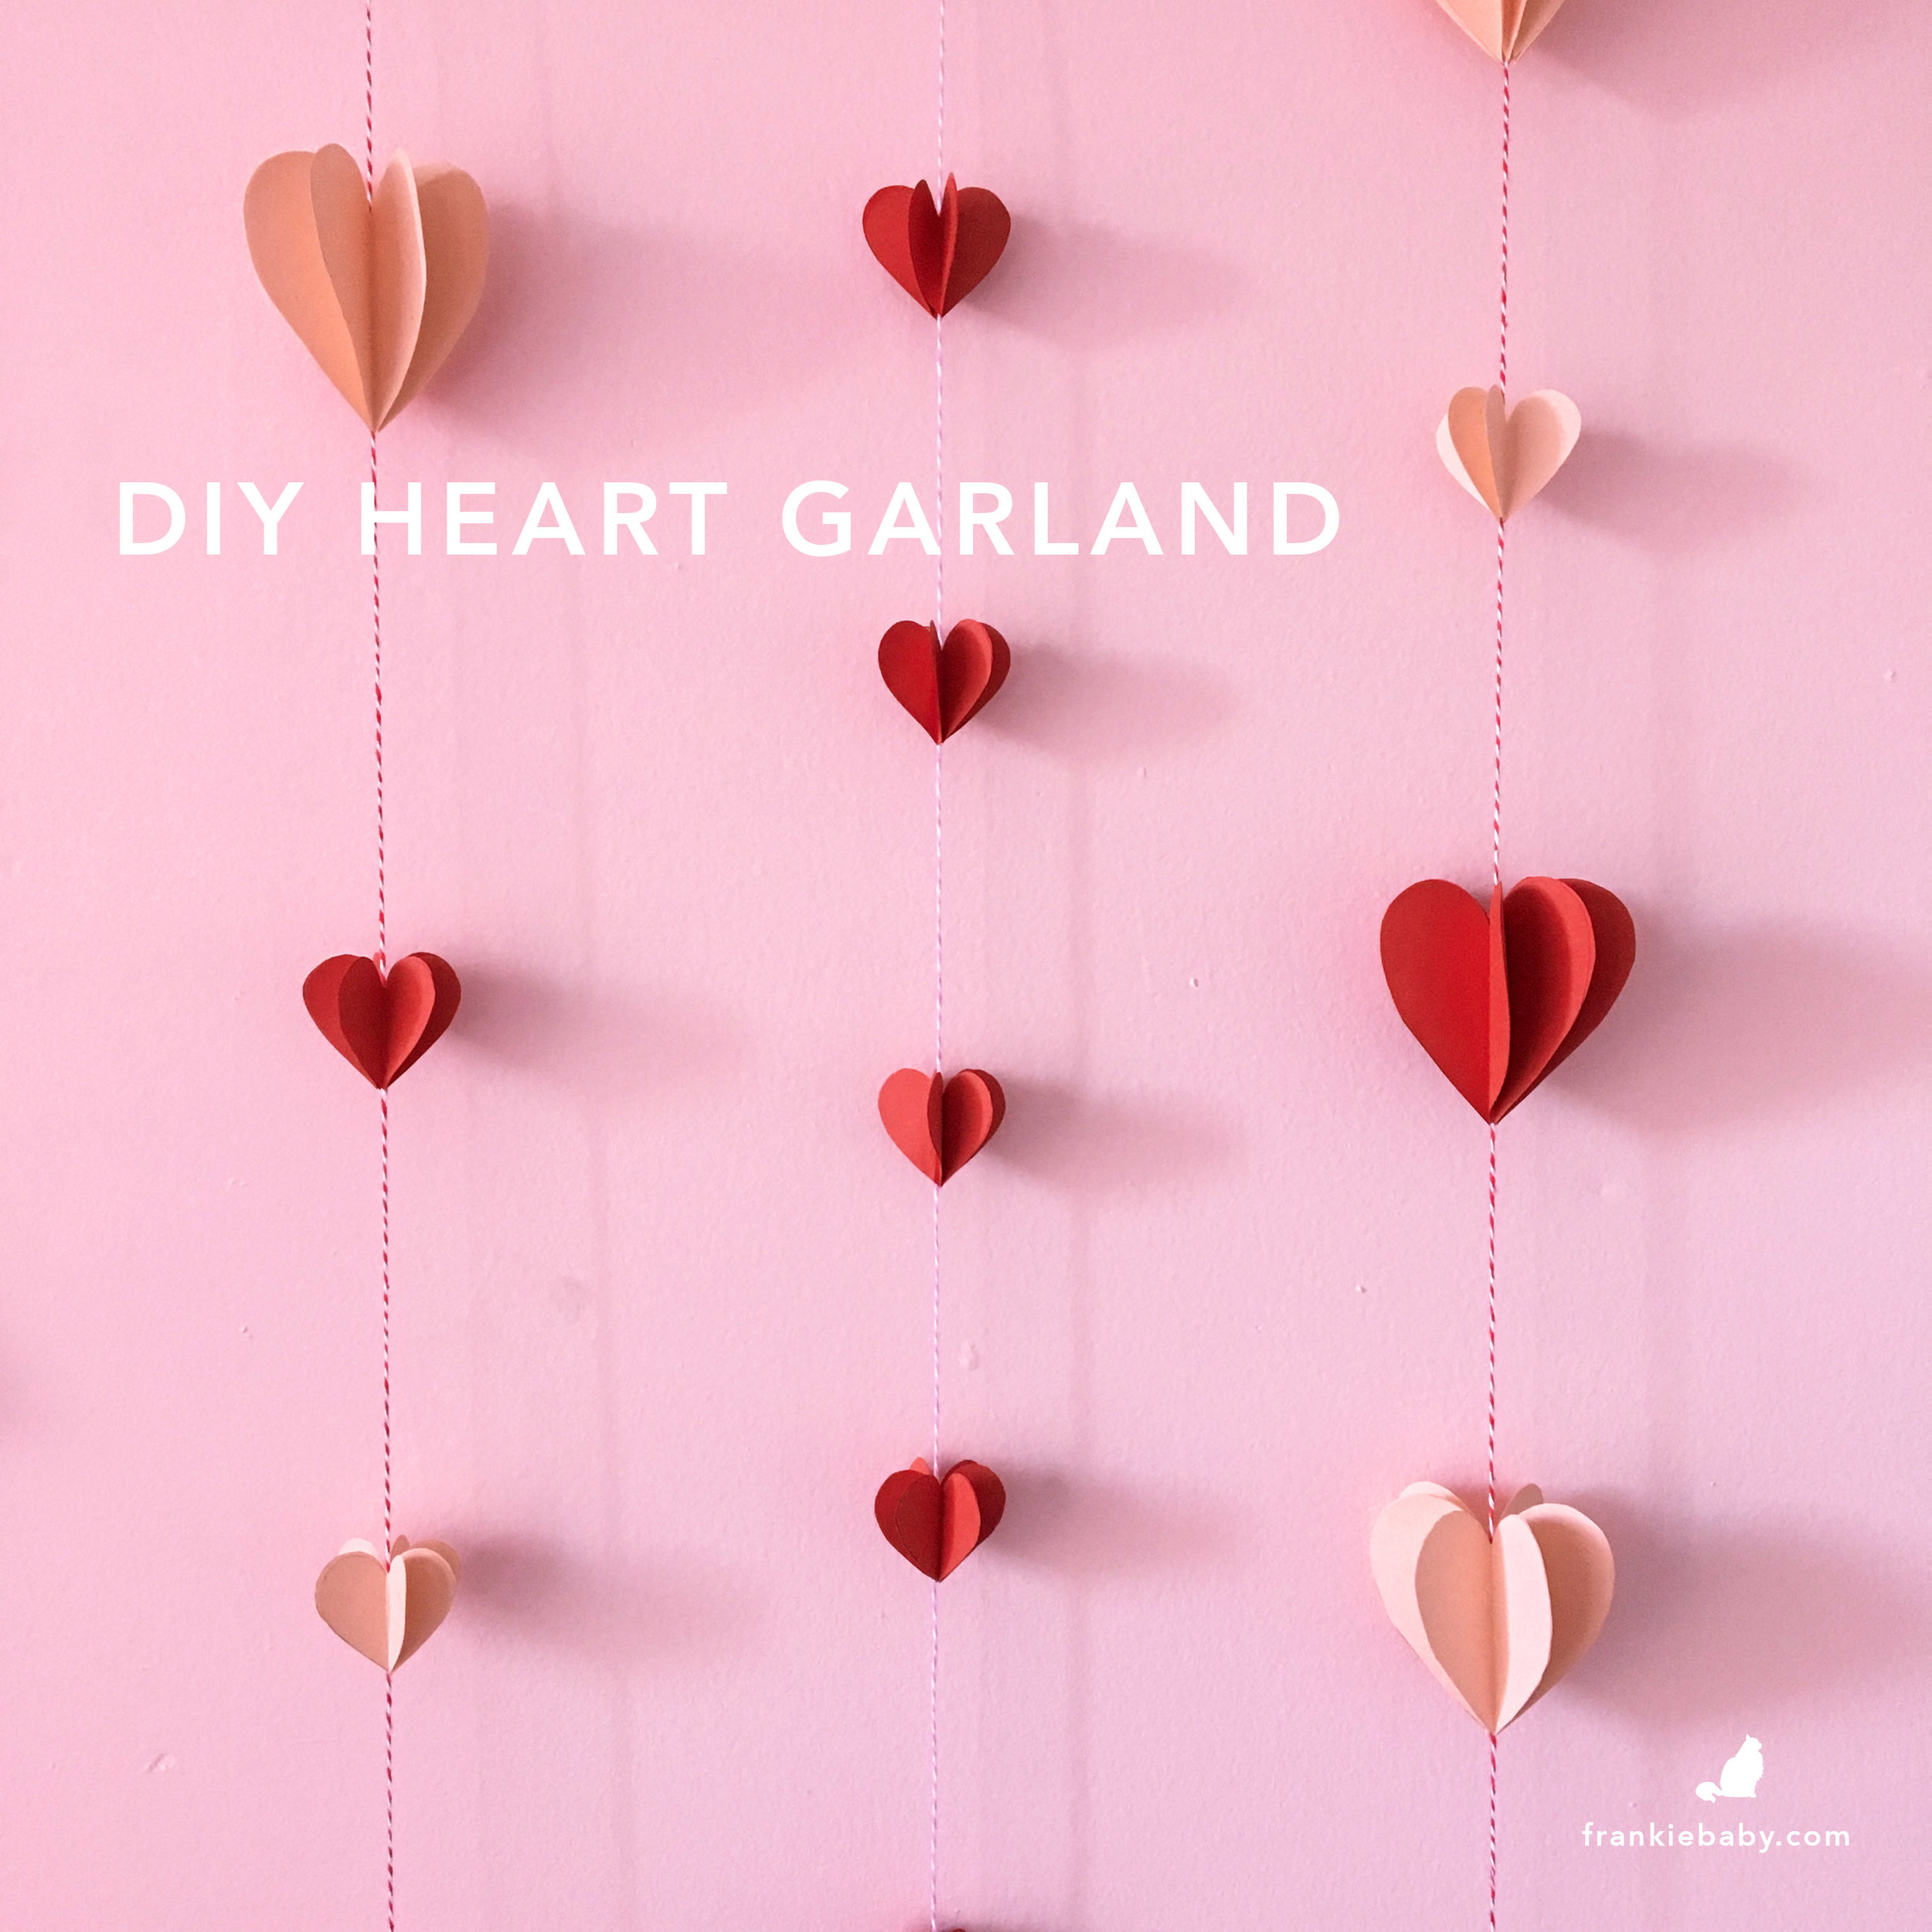
Today, I wanted to share a DIY tutorial with you--Valentine’s Day heart garlands. I love making things and I love Valentine's Day, so it's a perfect match! I definitely have a sappy/sentimental side so I enjoy an opportunity to tell the people in my life how much I care about them (and it’s a great excuse to send more cards!). Remember making little card receptacles out of milk cartons or some other crafty thing in elementary school and then handing out cards to everyone? Can we start that in offices or is that weird?
Okay, so let’s get into this garland tutorial. It’s perfect to layer a few across a doorway, to hang vertically at a cubicle, or whatever floats your boat. This idea is adapted from a project in Hello!Lucky's amazing book Handmade Weddings. Theirs is admittedly much quicker because you don't have to cut anything out, but I was feeling crafty.

Supplies:
Paper for hearts (I used paper I have around for wrapping gifts, but you could use any kind of paper that will stand up to glue {not tissue paper})
Scrap paper (not pictured)
Scissors
Ruler - I love a clear ruler with a grid for paper crafts.
Pencil
Bone folder (optional, you could use your fingernail or the handle of your scissors)
Tape (this goes on the inside of the garland so it doesn’t have to be pretty)
Glue (I used Mod Podge, but any kind of craft glue, PVA, etc would work. You could also use double sided tape or glue dots for zero mess.)
Small brush (not pictured here, but helpful for spreading glue)

Step 1: Prep paper:
Measure out squares of paper. You can do large or small. Here, I did 2 sizes—3 inch and 1.5 inch long strips of paper that I cut into squares.

Step 2: Make template:
Using scrap paper in a contrasting color from the paper for your hearts (so it's easy to see when you trace it), cut a square the same size as your heart paper (I did one 3” squares and one 1.5” square), fold in half, run your bone folder along the fold to make a nice crease, and trace/cut a heart shape. This will be the template for your finished hearts so make sure you like the shape when it’s unfolded.

Step 3: Cut out hearts
Fold your heart squares in half, crease with the bone folder, and trace your half heart template onto the paper.
Step 4: Cut out hearts:
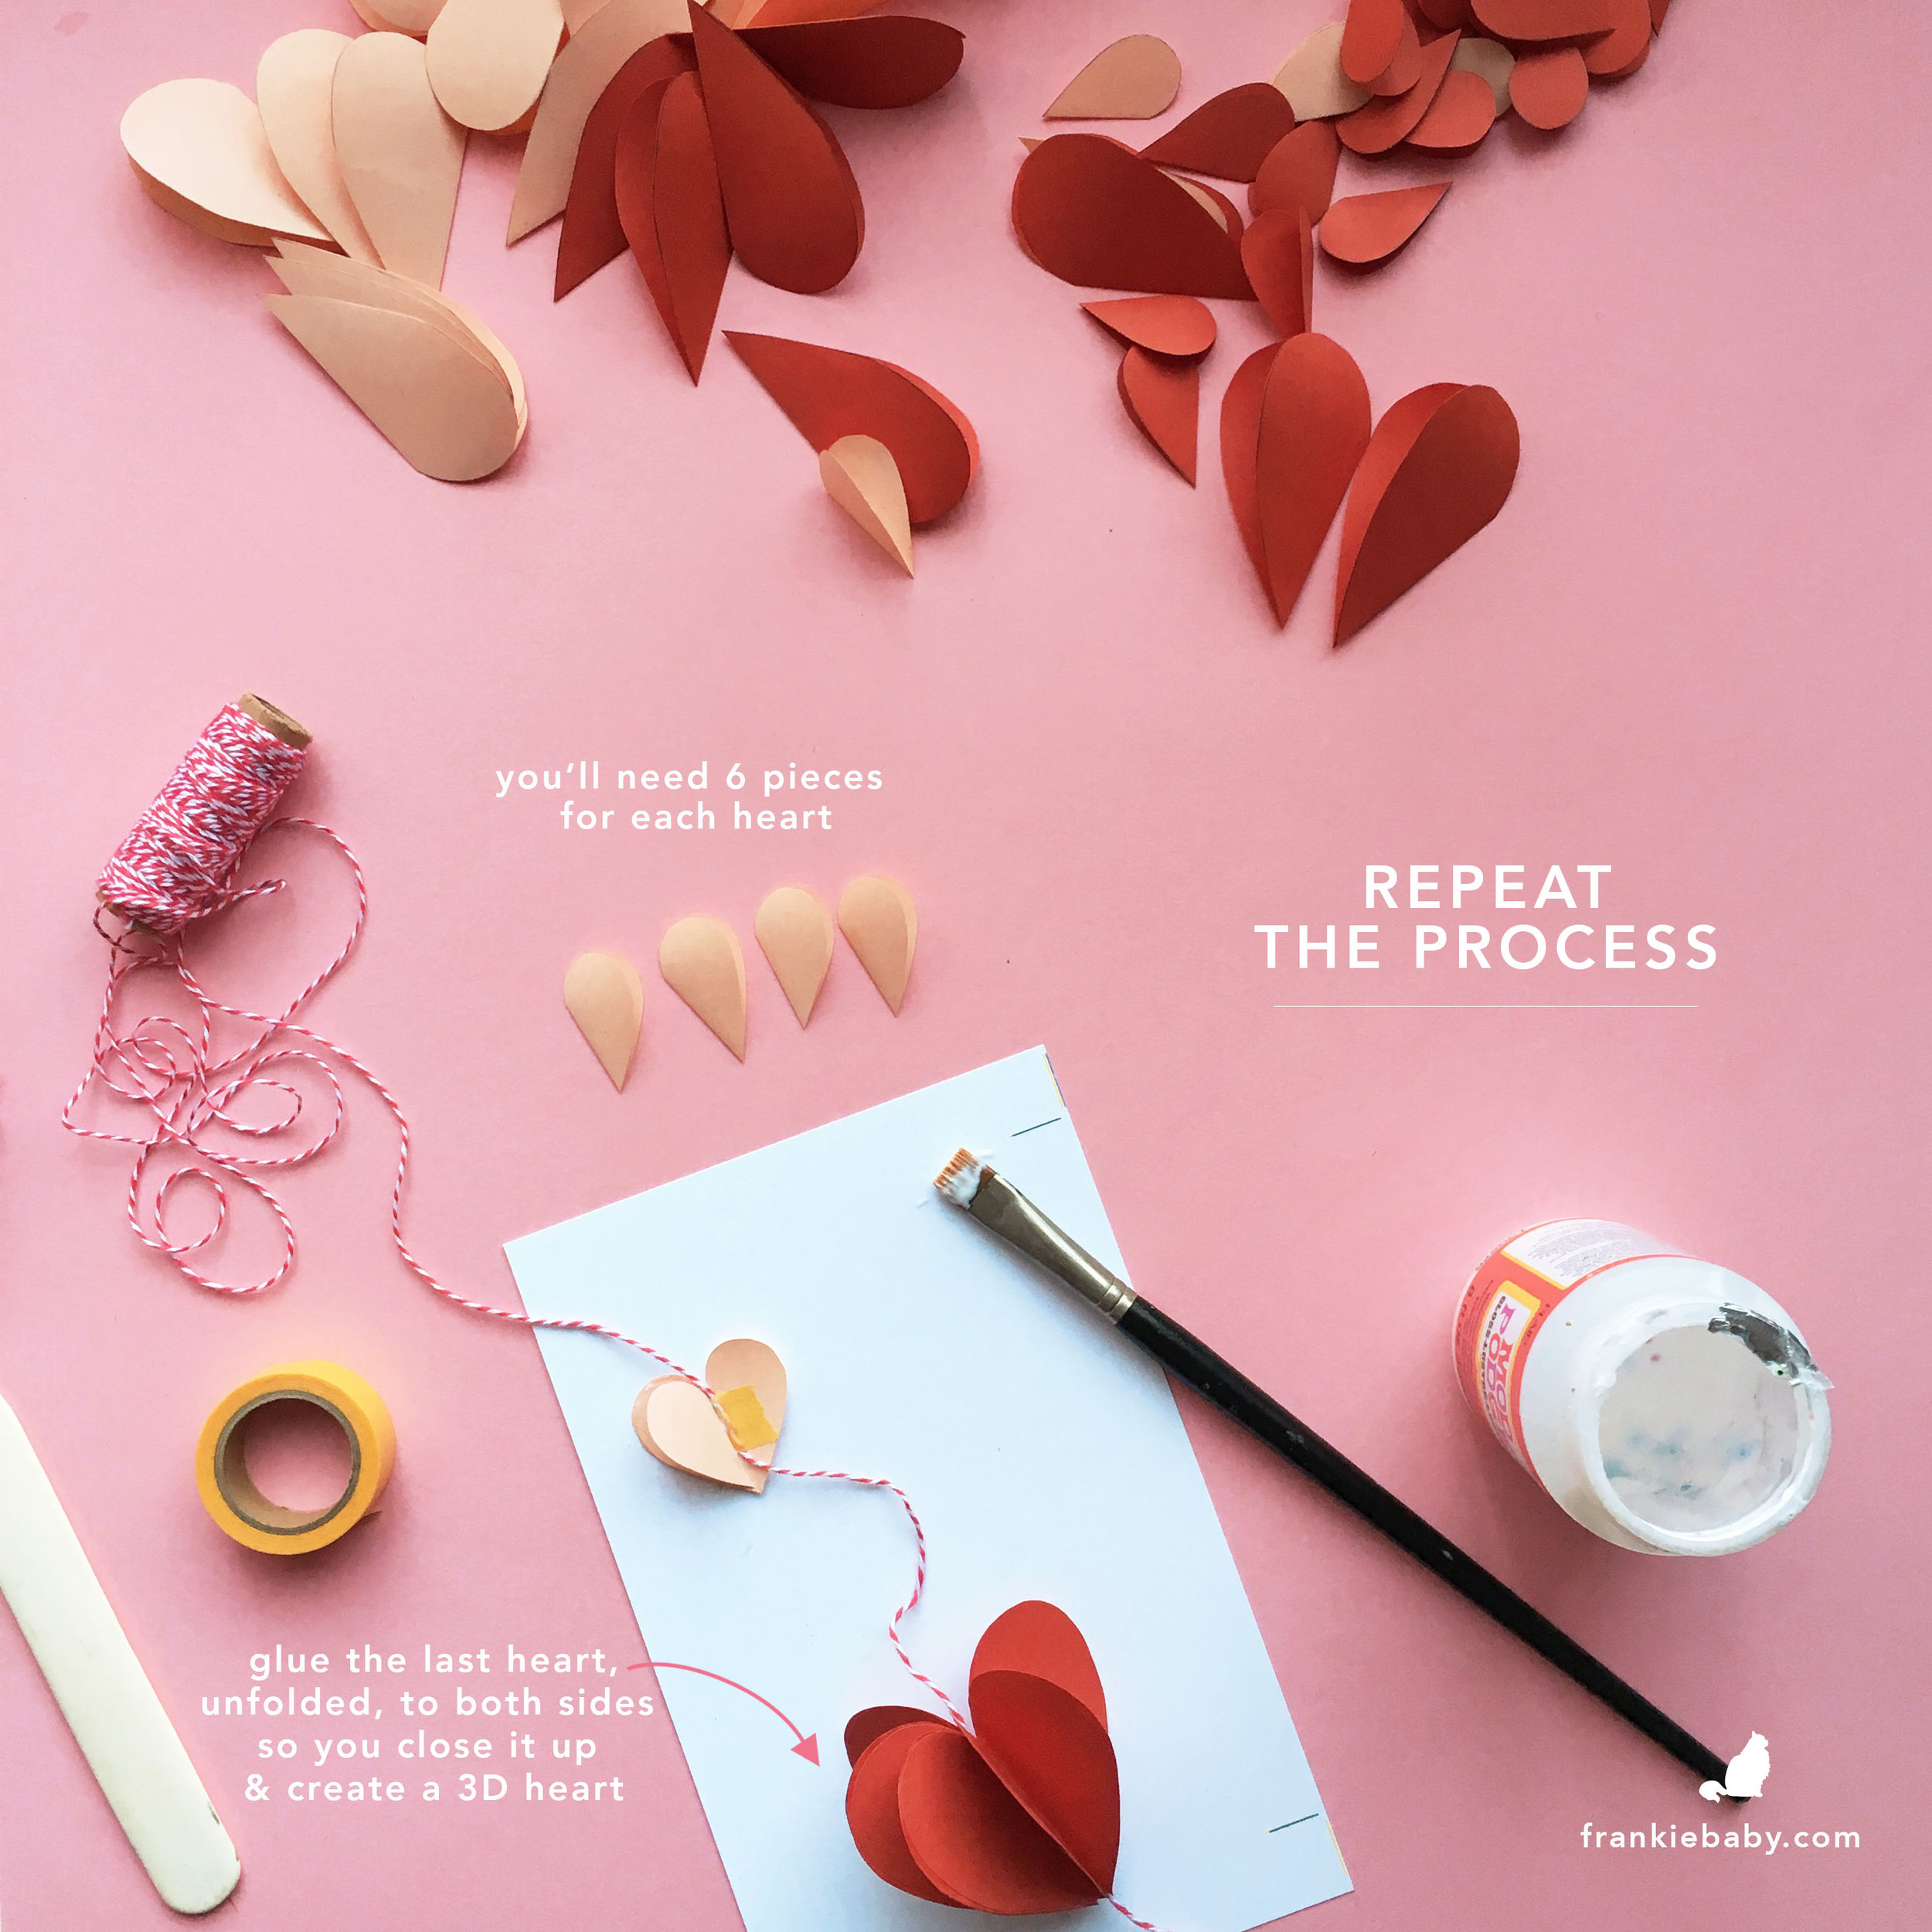
Cut out all your hearts, the same way you did with your template. I used 6 pieces per heart on my finished garland. You could use more for a fuller look, or less. I would use at least 3 pieces per finished heart to achieve a 3D look.

Step 5: Assembly:
Unfold 1 heart piece and place your string on top along the folded line. Your unfolded heart should be a mountain vs a valley on your tabletop, so you are working on the outside of the fold.
Using a small piece of tape, stick the string down to the paper. This is just to hold it in place so it doesn’t have to look pretty, but make sure the tape isn’t showing outside the border of the heart.
Next, paint a thin layer of glue on the left half of the heart and stick another folded heart on top of the wet glue. (This is where a brush helps, because you want a thin layer. Too much glue will seep out of the sides, making it messy and also risking gluing all the pieces together.) Using your finger or bone folder, press down so it’s all stuck. Repeat with the next 3 pieces, putting a thin layer of glue on the left side and stacking folded hearts on top.
With your last heart, paint glue on both sides—the top half of the heart that’s showing and the right side of the bottom heart—and glue the last heart down, open, to both sides. You’ll have closed up your 3D heart around the string! If any of the sides have stuck together, gently separate them while the glue is still wet.
Repeat as you wish, spacing them however you like along the length of string until your garland is finished. You can alternate sizes and colors, and even alternate paper colors on the individual hearts.
Happy Valentine’s day from Frankie Baby! I hope you like this little garland and that it brightens up your space. I have 3 hanging next to my desk right now and they are super cheerful. ❤ ❤ ❤